In FreshFlow, you create a project by clicking the little arrow next to the blue New Task box and then clicking on “New project”.
After clicking the New project button, you'll see a window for creating projects, which is laid out and works in a similar way to the window for creating tasks or calendar events.
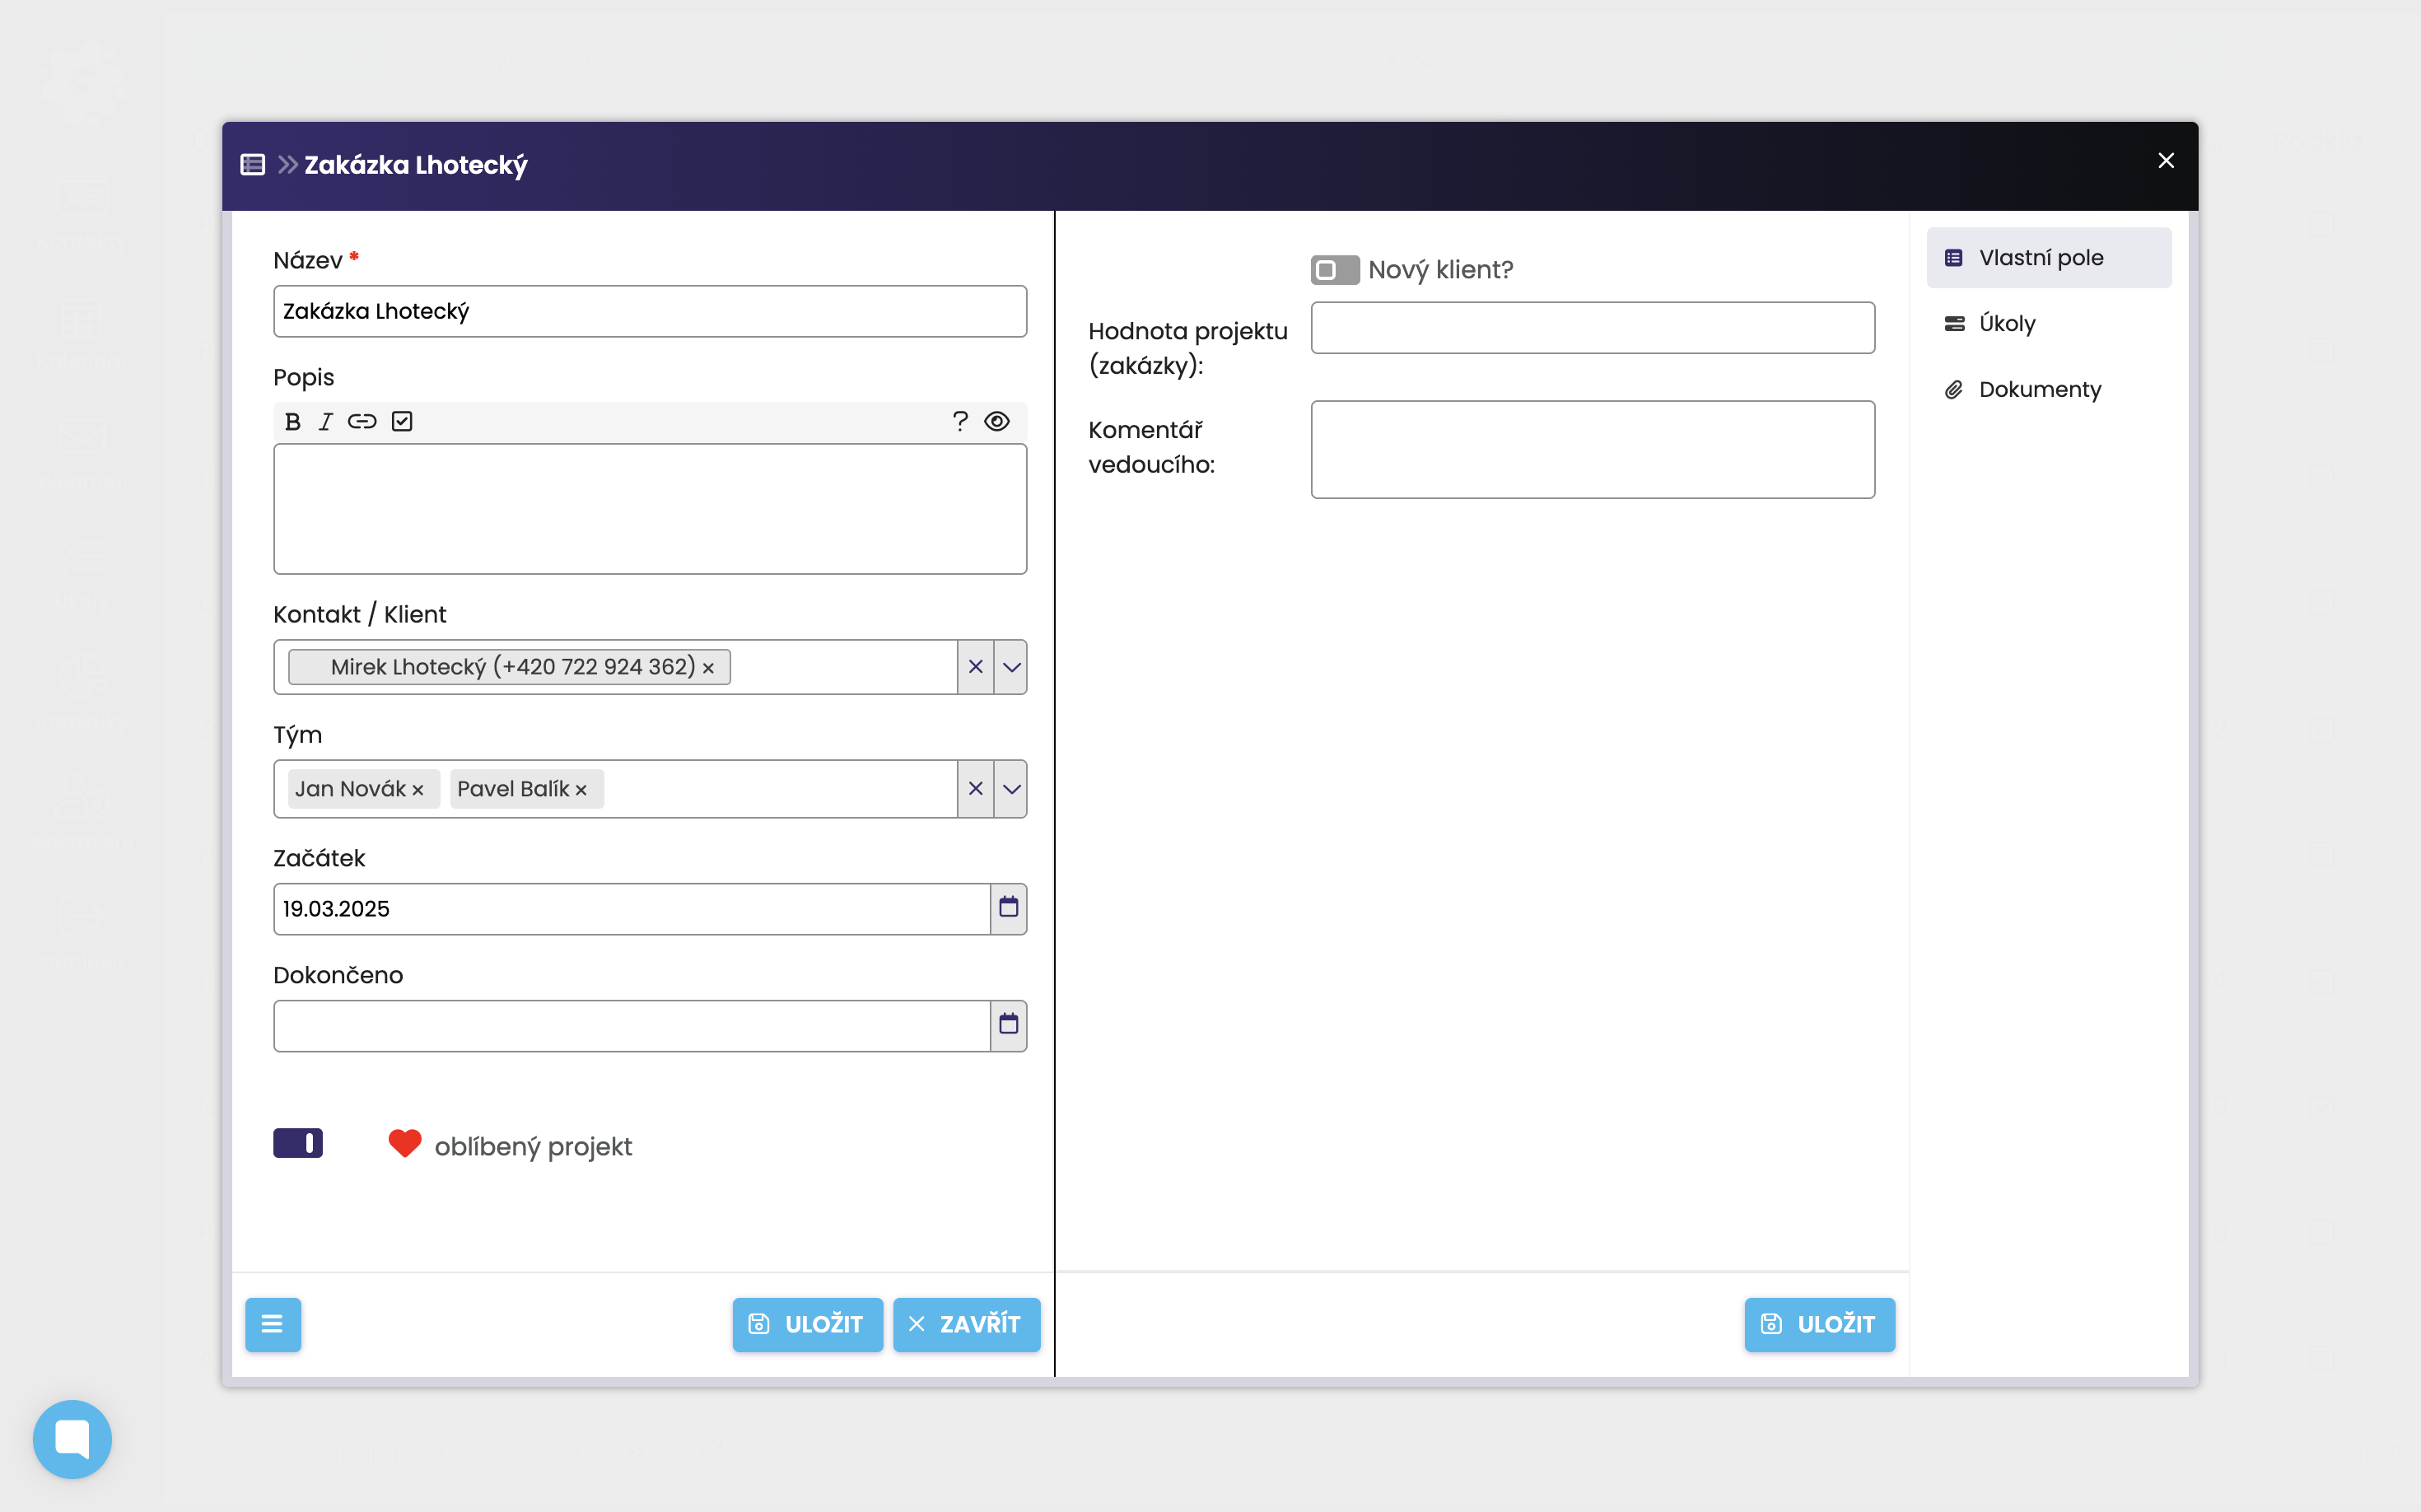
You need to fill in the (required) name of the project, and you can also add a description if you want.
You can add a contact, if the project relates to one of your clients. This way, you'll have all the client's projects tracked in one place on their profile.
Add the person working on the project (Team). For example, you can specify a particular colleague or a group, which you can set up for teamwork in FreshFlow (there's a separate article about this HERE).
You can also choose the start and end of the project, but that's optional.
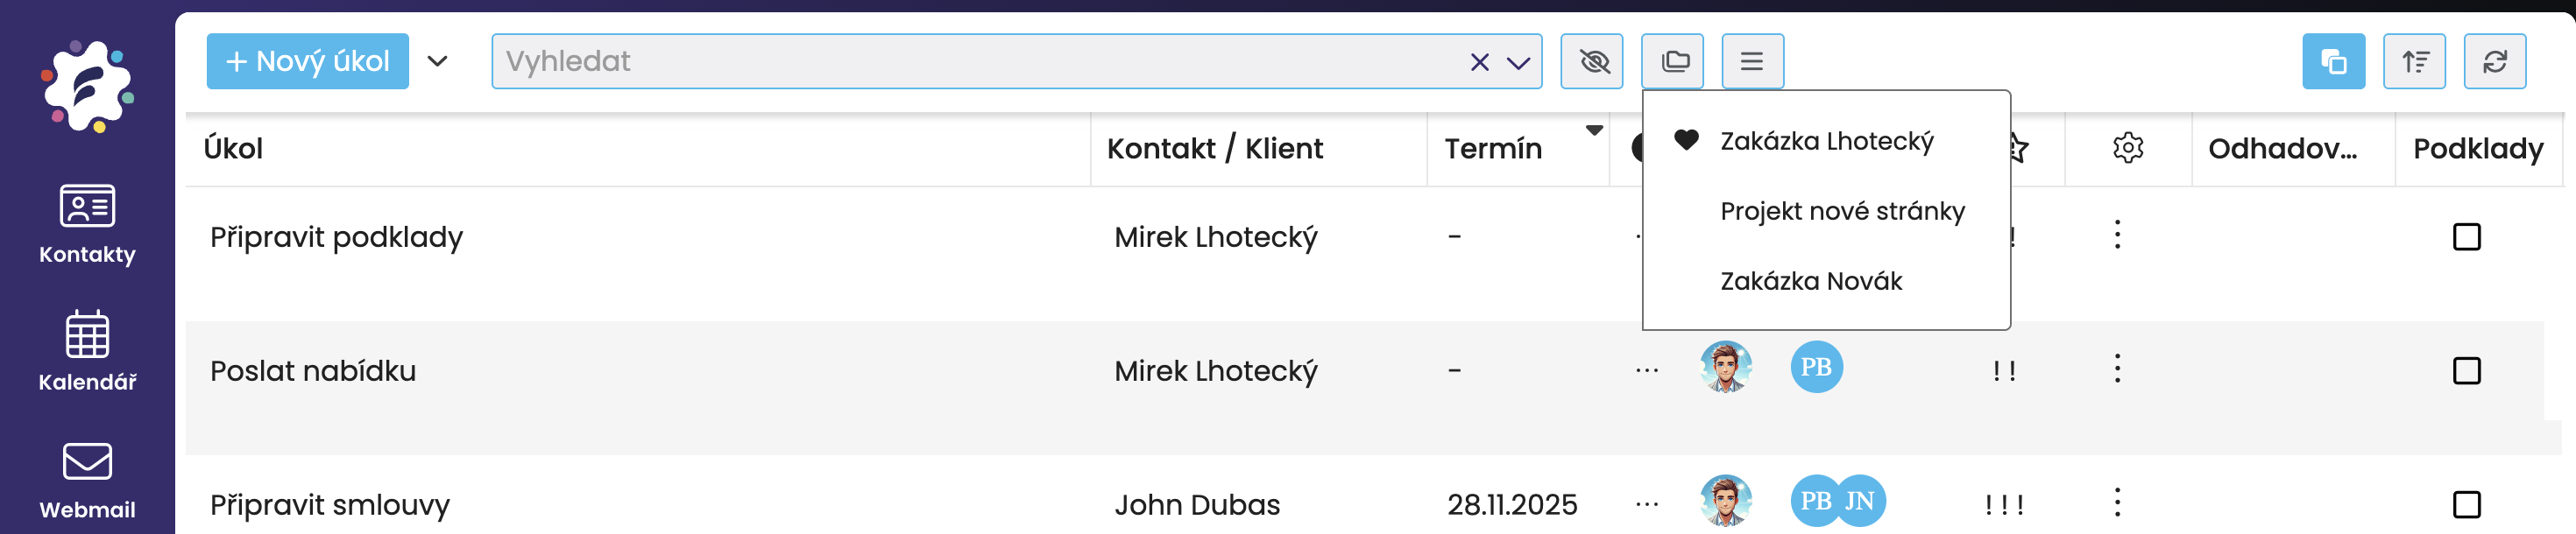
If you mark a project as favorite, it will show up at the top of your project list (with a heart icon). When you click on the project name, its tasks will be filtered in the list.
On the right side of the new project window, you'll be able to add custom fields. We explain how to create these in a separate article HERE.
In the right menu, you can also add related documents to the project, which will be visible to all assignees.
The most important thing is of course adding tasks to the project, which you can do either here or in other ways. But this method is more flexible for adding tasks right as you create the project. We show all the ways to add tasks to a project HERE in a separate article.
You can edit projects in the Project Management section. You get there by clicking the button with three horizontal lines. To edit a specific project, just click on it in the project list.
You can create project templates from repeating projects with the same tasks.
Thanks to that, you just pick the template, enter details for your new project, and you'll get a new project with the tasks already filled in.
We cover templates in a separate article HERE.
