If you wish to share a calendar, you can do so by sending a Sharing Invitation to the respective colleague. He or she can accept it, decline it, or set one of the three sharing options. If your colleague does not accept the invitation, you will not see his or her calendar, and he or she will not see yours. Calendar sharing is conditional on mutual sharing in three possible variants of sharing (calendar view).
We will now look in detail at how to create and send Calendar Sharing Invitations.
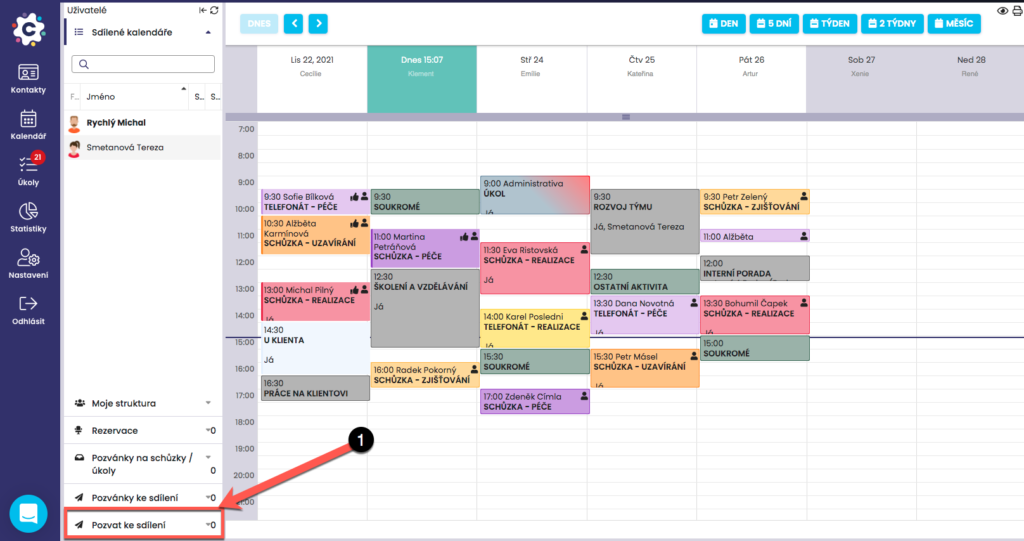
To create a Sharing Invitation, click the Invite to share button, which will open a new dialog window.
In the dialog window, fill in the necessary details to specify the User to whom the Sharing Invitation will be sent. Select the User’s name to whom you will send the Invitation. The selection of the sharing level is very important, as it determines how the user who receives the Sharing Invitation from you will see your calendar.
There are four possible levels of calendar sharing:
– Free / Busy
– Activity preview
– Activity details
– Write permission
You can also attach a short text to the Invitation. By clicking Send, you send the Invitation to the selected User, whereby it will be delivered to their email inbox.

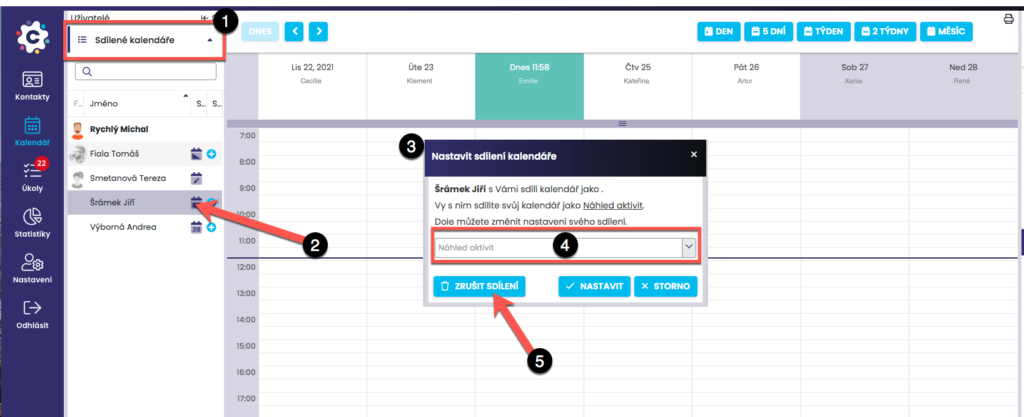
You can edit or completely cancel Mutual Calendar Sharing at any time. In the Shared Calendars tab, select the person for whom you want to edit or cancel the sharing.
Then click the icon next to the name to open a dialog window where it is possible to perform sharing edits.
You can change to a different type of Calendar Sharing with the given person, i.e. how they will see your calendar, or completely cancel the sharing by clicking Cancel sharing. When sharing is cancelled, it is cancelled mutually, meaning you will not see the other person's calendar and they will not see your calendar.