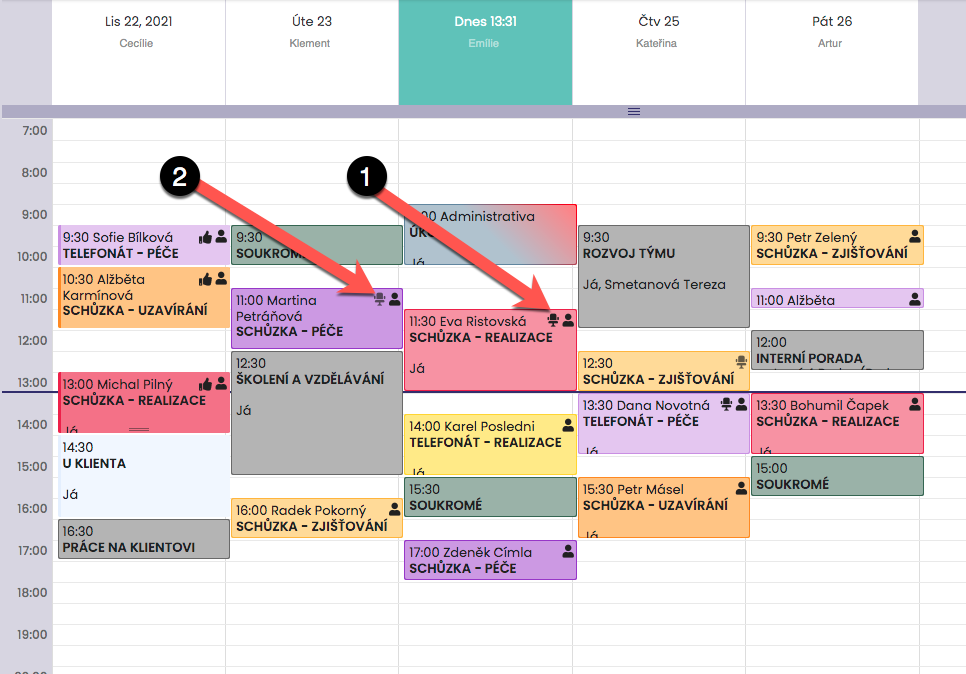
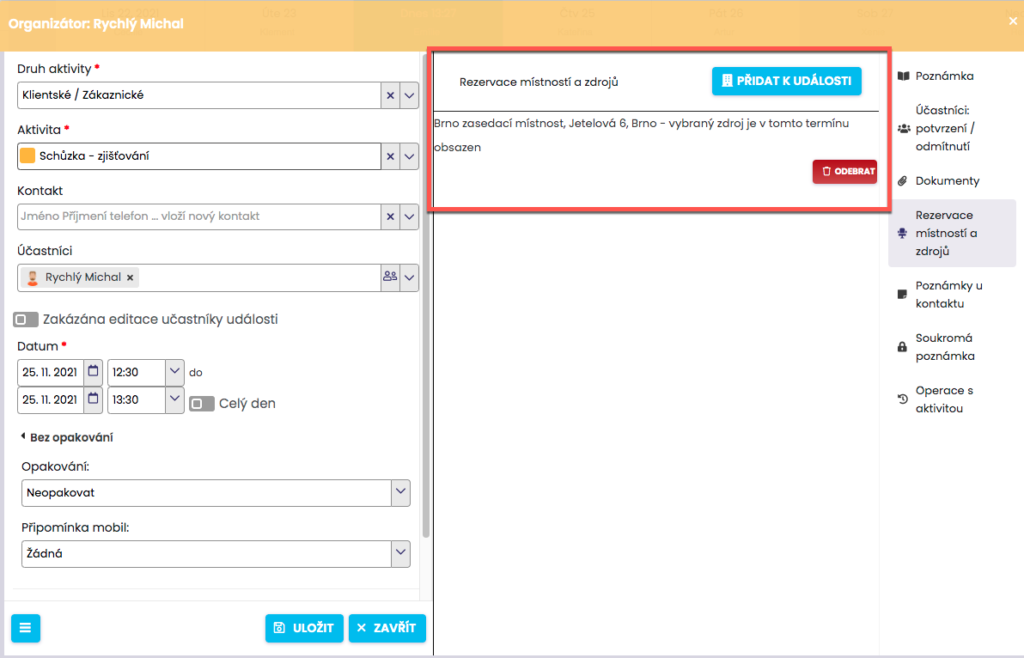
You can create a reservation very easily. When entering an activity into the calendar, click on Room and resource reservations (1) on the right side of the card of the given activity and then on Add to event (2).

In the new dialog window, a field will be displayed for you to search for a suitable room/resource for your event.
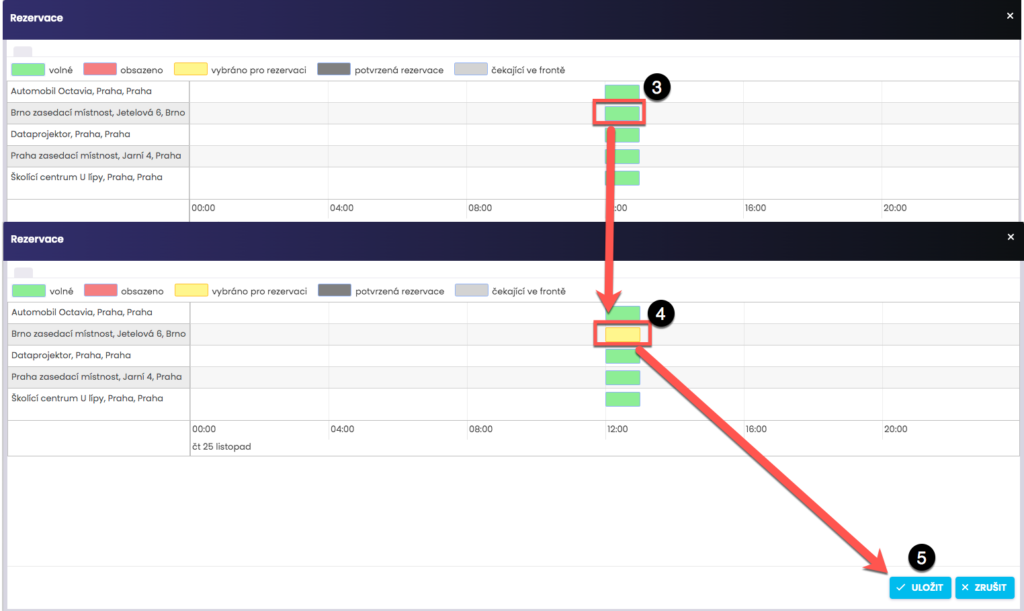
In the reservation dialog window, you will see rooms with an available slot at the time of the event (marked in green) (3). Click on the green rectangle in the room/resource you require > it will turn yellow (4) > continue to “Save” (5). After confirmation, the added room/resource will be displayed for the event.
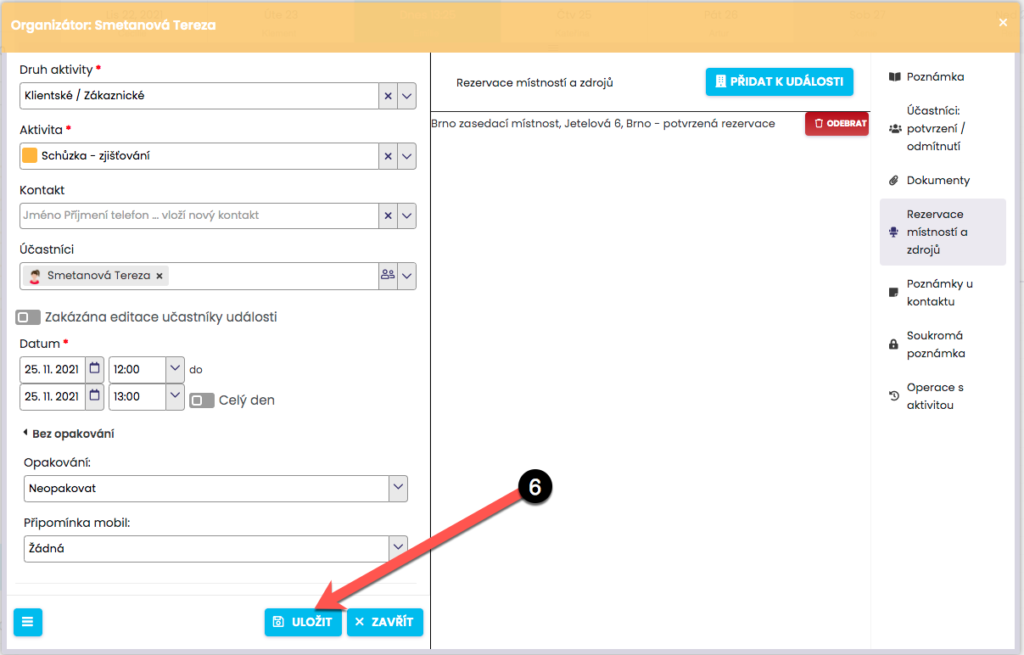
By clicking Save (6) you confirm the reservation. It is possible to add multiple rooms/resources to a single event.
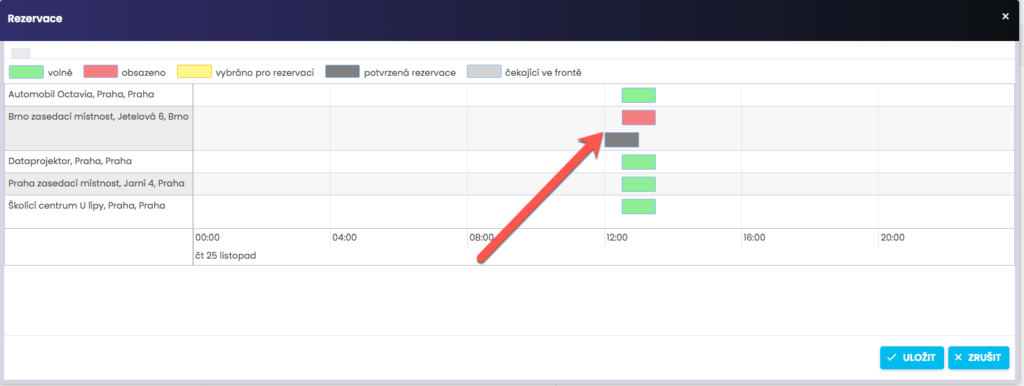
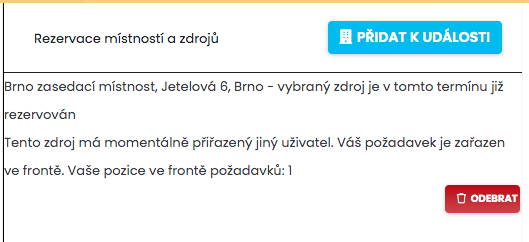
If the selected room/resource is already occupied for the given time slot, you will see a red window at the respective time. If you still proceed to add the reservation, information will appear stating that you will be placed in the queue. If the room/resource becomes available, a reservation will be created automatically.
You can remove a reservation or a queued reservation from the event at any time.
Using the icons next to individual activities, you have a perfect overview of which activities have reservations for rooms/resources created. A black chair (1) means that the reservation is confirmed and valid. If the chair next to an activity is greyed out (2), the reservation for this activity is placed in the queue. If the room/resource becomes available, the status is automatically updated and a black icon is displayed.